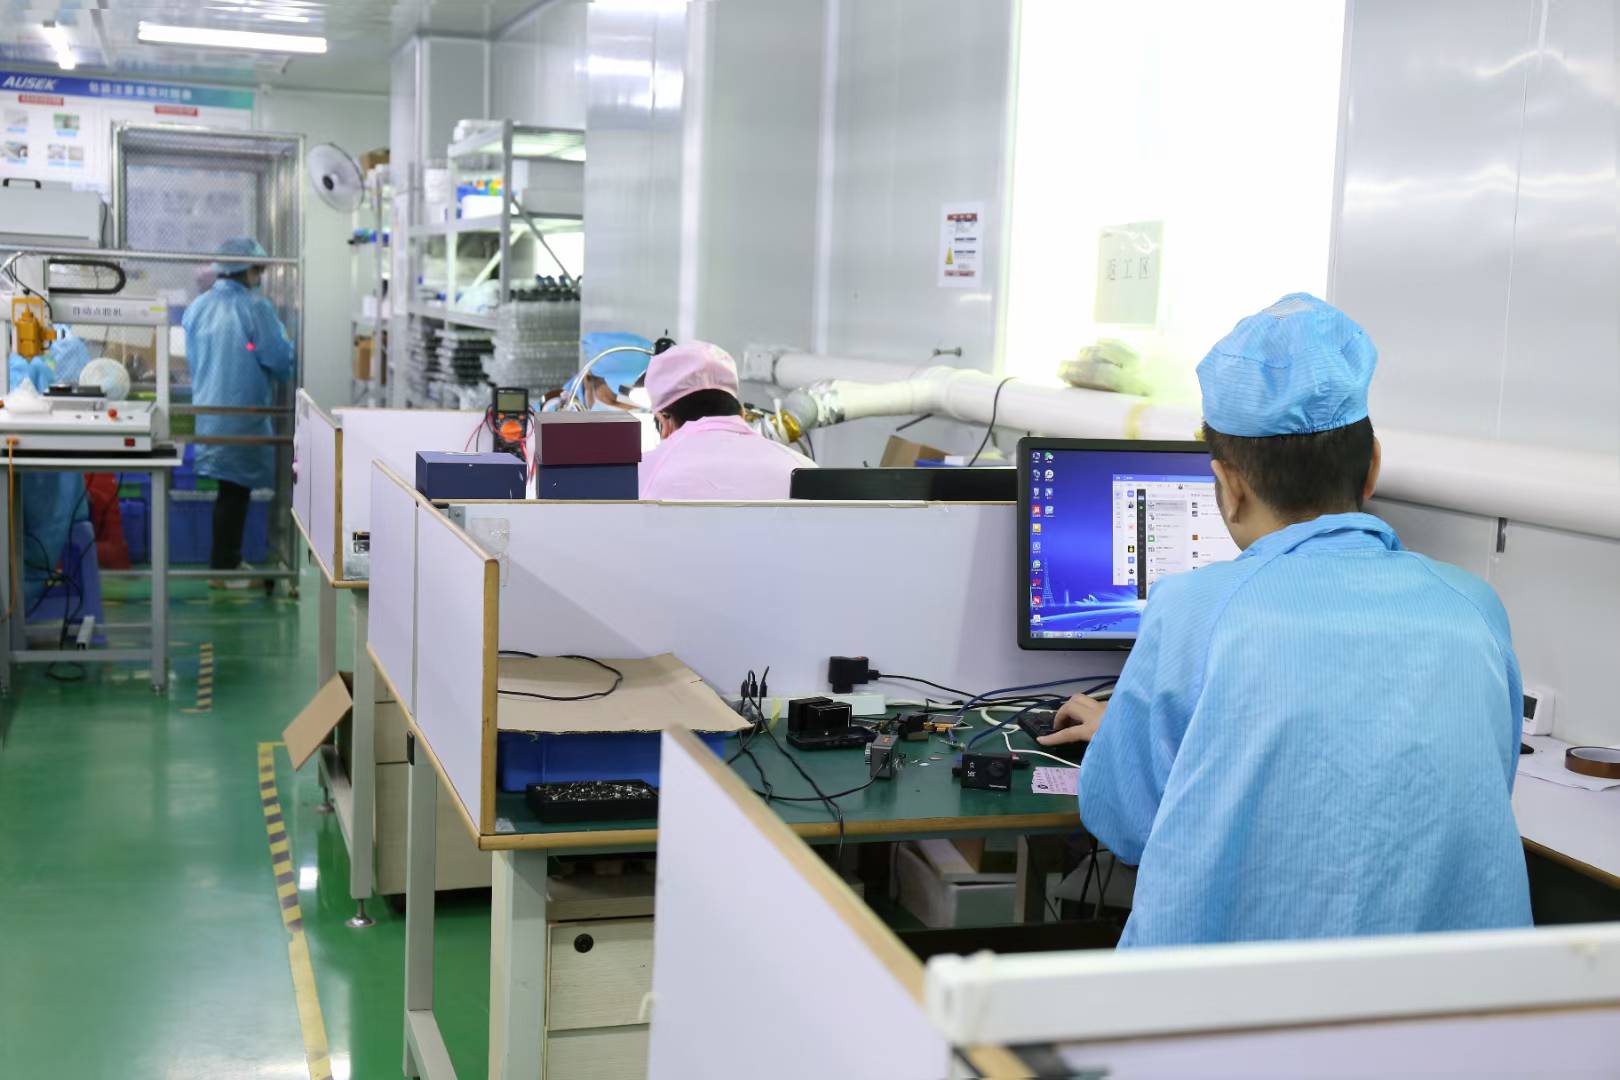
A useful action camera stabilization test answers three questions: is the footage smooth, does the subject stay clear, and is enough of the scene left in the frame? Film a repeatable route in the mode your customers will use, then compare the original clips.
For product selection, a short walking sequence and a relevant mounted test can give your team footage to compare across samples.
Set the recording mode and mount
Choose a supported combination of resolution, frame rate and stabilization for the test. Keep the mounting position consistent across runs. Note the mode beside each clip so your team can connect the result to the settings used.
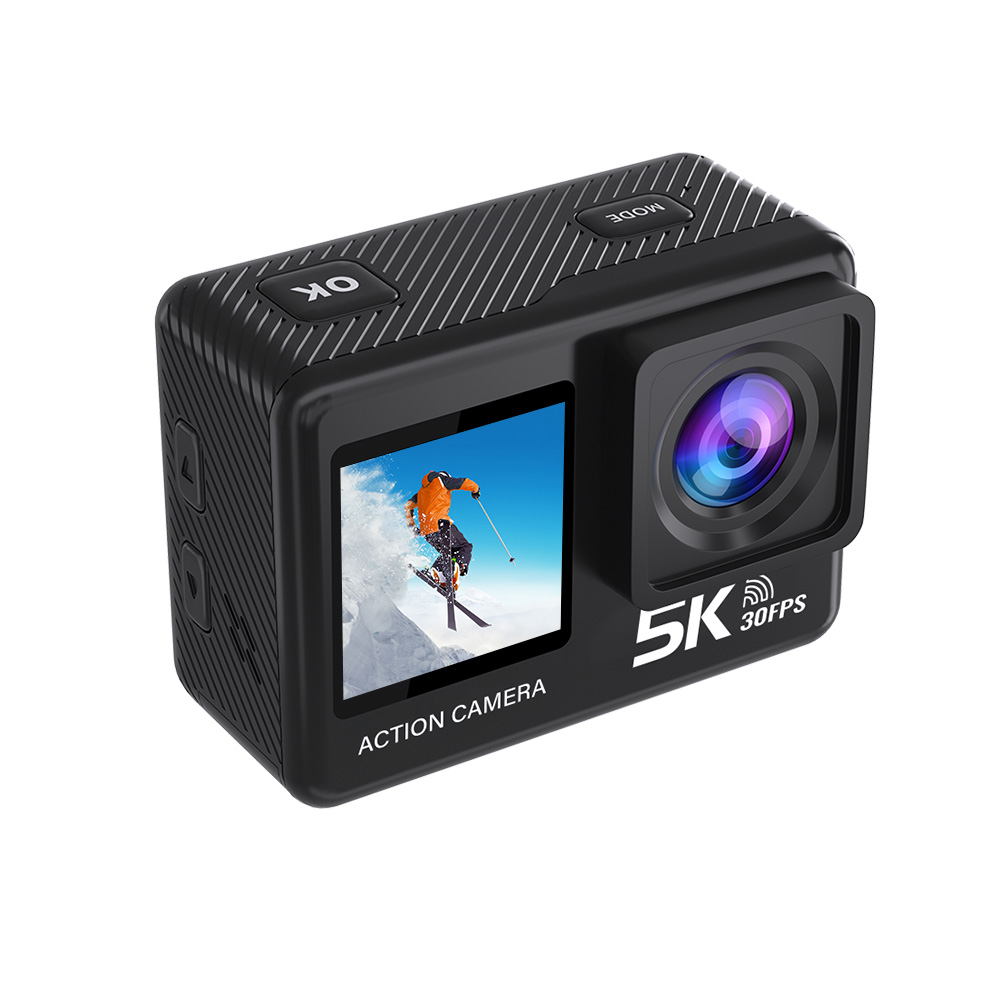
The AUSEK AT-M60TR features six-axis EIS. Ask for its available recording combinations when arranging a sample, then select the one that fits your planned product offer.
EIS compensates for camera movement through electronic processing and may crop the view. Include both the center and edges of the frame in your comparison to see how the chosen setting affects the scene.
Film the same sequence in each test
Walk at a steady pace, make a turn, then stop and hold the camera still for a moment. Use a route with recognizable objects and straight lines near the edges of the view. These make it easier to see jumps, changes in framing or local distortion during playback.
Where the camera offers an on/off setting, repeat the route with stabilization enabled and disabled. Keep movement and lighting as similar as practical. For a mounted camera, use the bracket and position intended for the retail kit.
If customers will film indoors or toward evening, repeat the sequence in that light. Slower exposures can leave moving details blurred, so include the subject’s clarity in this part of the review.
Watch the footage at normal speed first
Start with the original camera files on the same playback device. Watch the whole sequence at normal speed, then revisit the moments where the camera turns or stops.
- Look for sudden jumps that interrupt the viewing experience.
- Check that the person or main object remains clear while moving.
- Compare how much of the scene is visible with each setting.
- Look for bending or wobbling around the edges of the image.
Keep a representative clip for each recording mode, with a brief note about its strengths and the use it suits. This gives the sales and product teams a shared reference when choosing the model and explaining it to customers.
To compare AUSEK samples, send your preferred recording mode and shooting setup. Request original clips using that setup so your team can review the movement, framing and detail.