A private-label action camera project starts with the product you want to put in the box: the camera model, its accessories and the intended use. Once that is clear, define where your brand appears, which languages the customer needs and what the branded sample must demonstrate. The model and bundle give the design work a physical reference.
AUSEK can discuss body logos, startup and shutdown logos, retail boxes, manuals, menu-language requirements and accessory combinations for existing camera models. Each item is confirmed against the selected model and order. You can begin with a limited branding scope, such as a body logo, if that fits your sales plan.
Define the base product before commissioning the artwork
Choose the camera and list the items to be supplied with it. The list should name each accessory and its quantity, including any microphone, housing, mount, cable or remote you want in the kit. A product photograph may show optional accessories, so write the contents down instead of treating an image as the packing list.
For an illustrative travel-commentary project, AT-M40TRW could be considered because it has front and rear color screens and supports a wireless microphone. The next decision is whether the microphone belongs in the standard kit or will be offered separately. That choice affects the box layout, the contents list and the instructions a buyer receives.
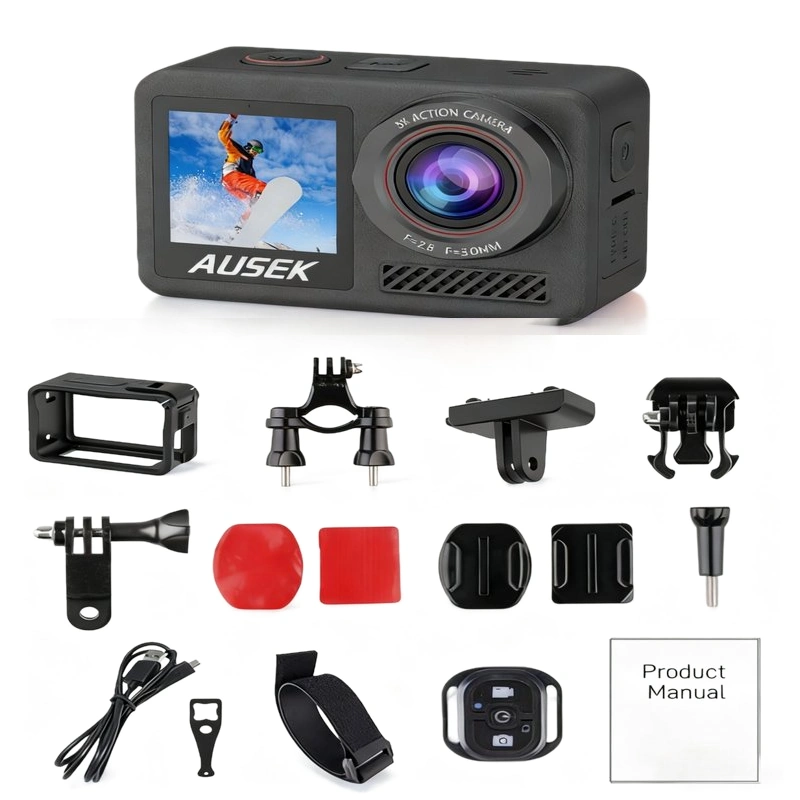
Keep the camera choice stable while preparing detailed packaging. Changing the body or adding an accessory after the insert is designed can require another fit check. If you are still comparing models, collect brand assets and market requirements first, then finish the dimensions and layout when the configuration is settled.
Separate the branding decisions that need approval
“Use our brand” leaves several decisions open. A body logo, a startup screen and a retail box are separate items with different artwork and fit requirements. Put them in one project list, but approve each in the form in which the customer will see it.
| Branding item | What to provide | What to confirm on the model or sample |
|---|---|---|
| Body logo | Logo artwork, color reference and preferred position | Available area, size, application method and final appearance |
| Startup and shutdown logo | Approved brand artwork and required behavior | Model support and the actual on-screen result |
| Retail box and insert | Selected model, contents list, artwork and label information | Fit, accessory layout and accurate product information |
| Manual and printed languages | Required languages, reviewed text and the exact kit | Instructions match the controls, connections and contents |
| Menu languages | Target languages and any requested additions | Availability for this model and the menu shown on the sample |
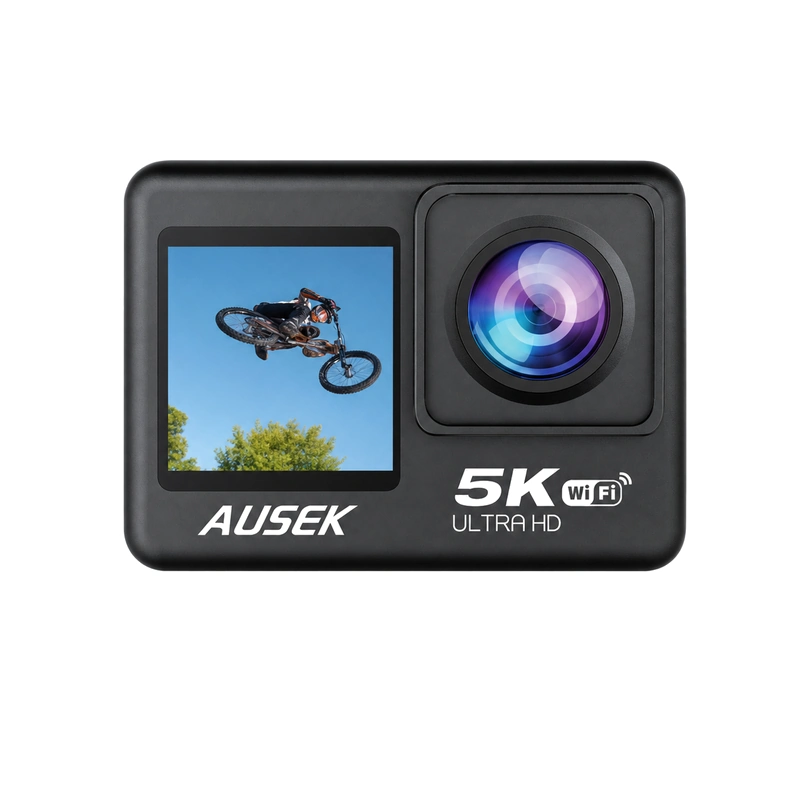
For the body logo, provide an editable or vector logo file where available and identify the version to use. Check its position against the lens, screens, buttons and ports on the selected camera. A mark that looks balanced on a blank drawing may need adjustment when viewed on the real body.
If startup or shutdown branding is included, review it independently of the printed body logo. Confirm the image that actually appears on the sample. A body-logo approval does not establish that the screen presentation has also been checked.
Give packaging and language work the same product reference
The box should describe the kit being sold. If a microphone is optional, distinguish that option from the included contents. If a water-use statement depends on a housing, retain that condition in the packaging copy. For AT-M40TRW, the 30 m underwater specification requires the appropriate waterproof housing.
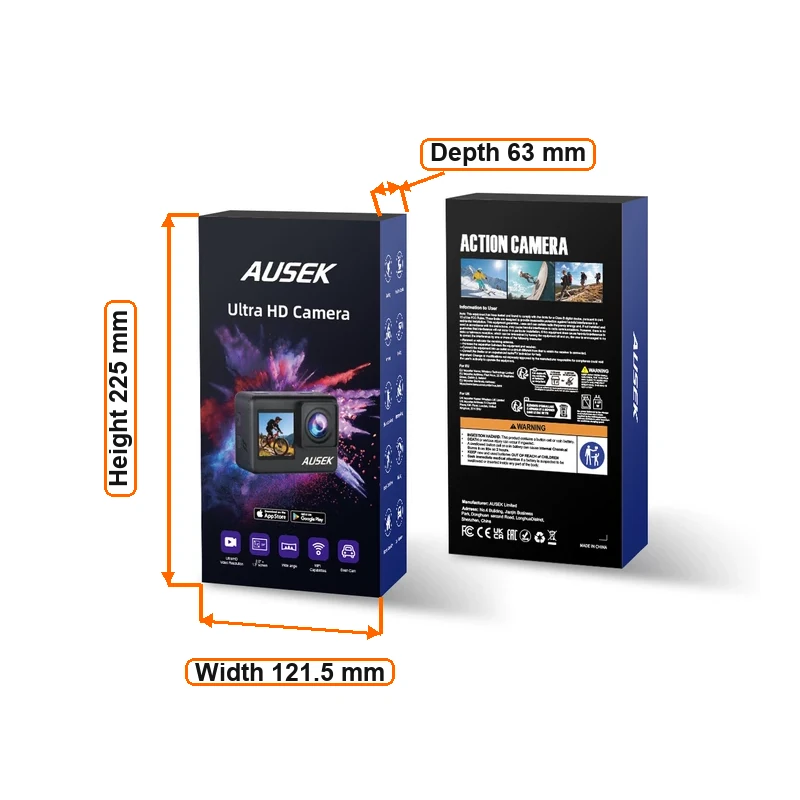
Keep printed-language requirements separate from menu-language availability. A translated manual does not establish that the camera menu includes the same language. Ask AUSEK to confirm the selected model's menu options and review any request to add another language. Approve the wording used across the menu, manual and packaging together where they describe the same function.
Read the manual while operating the intended sample. Locate the record control, follow the accessory connection steps and find playback. If the instructions refer to a different button or accessory, correct the text before approving the print file. This is more useful than checking the cover language alone.
Review the branded sample as a complete product
Use one agreed configuration to review the sample, artwork and quotation. Check the body logo and startup display, open the box, compare its contents with the list, and follow the instructions using those accessories. Note any differences by item and describe the requested correction precisely.
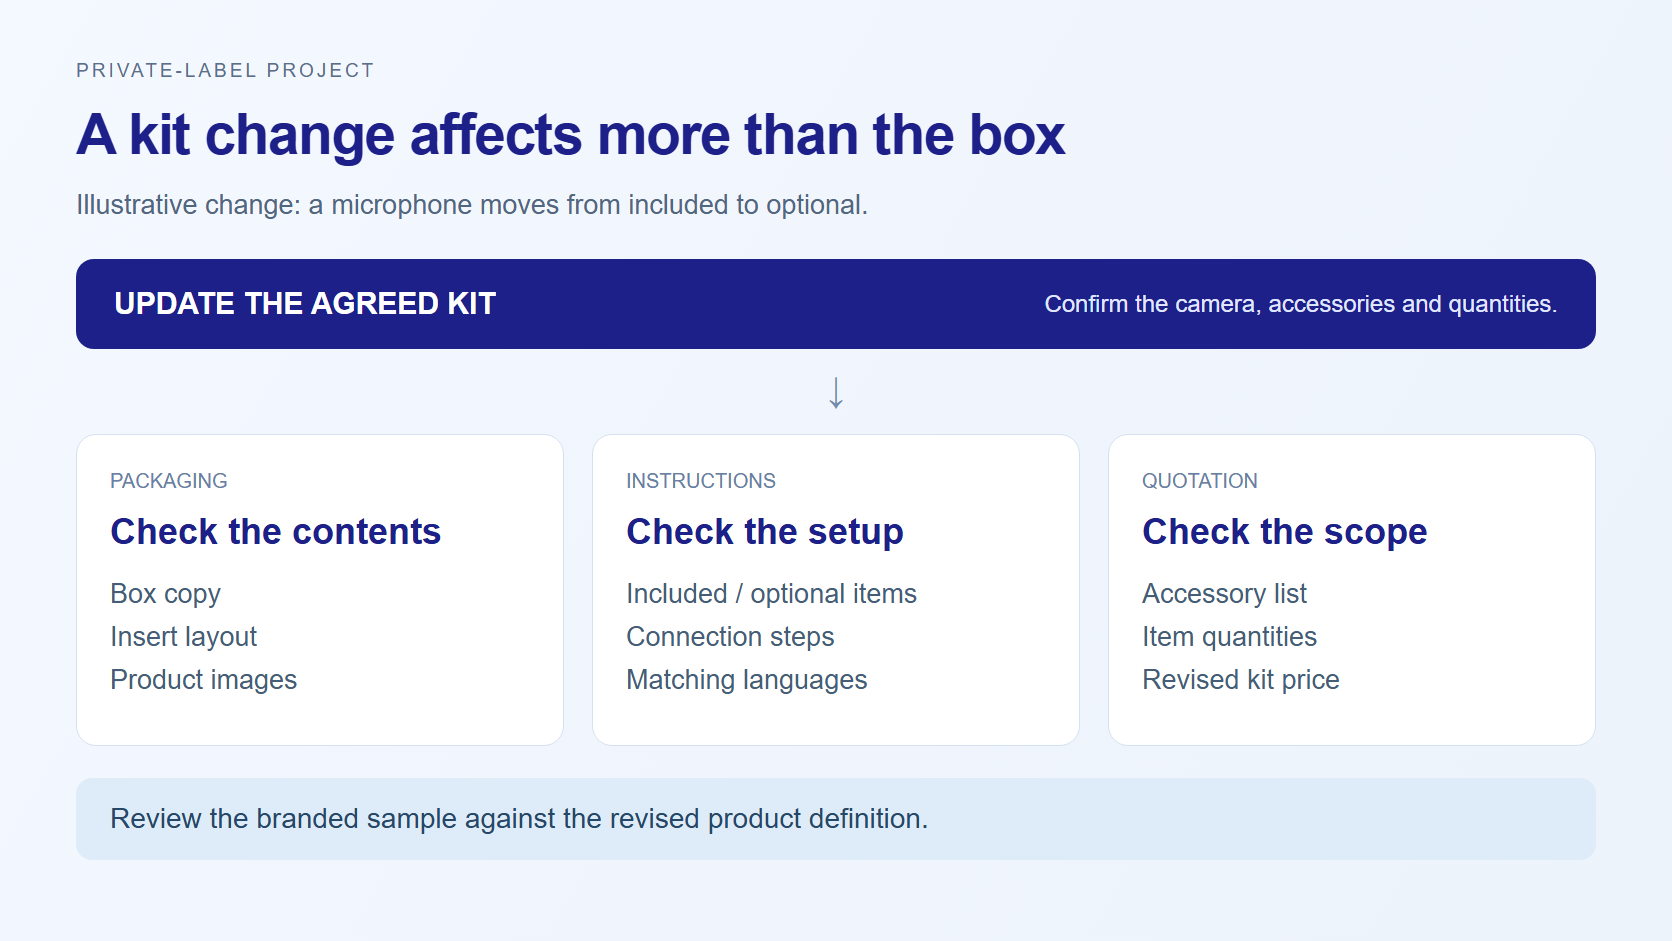
For example, removing the microphone from the proposed standard kit means revisiting the contents list, insert space, product images and any wording that says it is included. The camera can still support the accessory. The offer should show clearly what the customer receives and what is optional.
Send a brief that can become a model-specific proposal
You can start the conversation before every design file is finished. State which decisions are ready and which you want help discussing. Use this outline to prepare the first message:
| Project field | Your input |
|---|---|
| Target market and channel | Country or region; retail, distribution or online sales |
| Camera and customer use | Preferred model or reference product; main filming task |
| Bundle | Accessories and quantities; included or optional |
| Branding and languages | Body logo; startup/shutdown logo; box; manual; menu requirements |
| Quantity and timing | Estimated order quantity and desired schedule, if known |
Send your private-label brief to AUSEK to discuss the model, branding scope and sample requirements. For projects that also change hardware, software or the product structure, describe those changes separately so their feasibility can be reviewed beyond the branding work.